Recognise what a part is doing
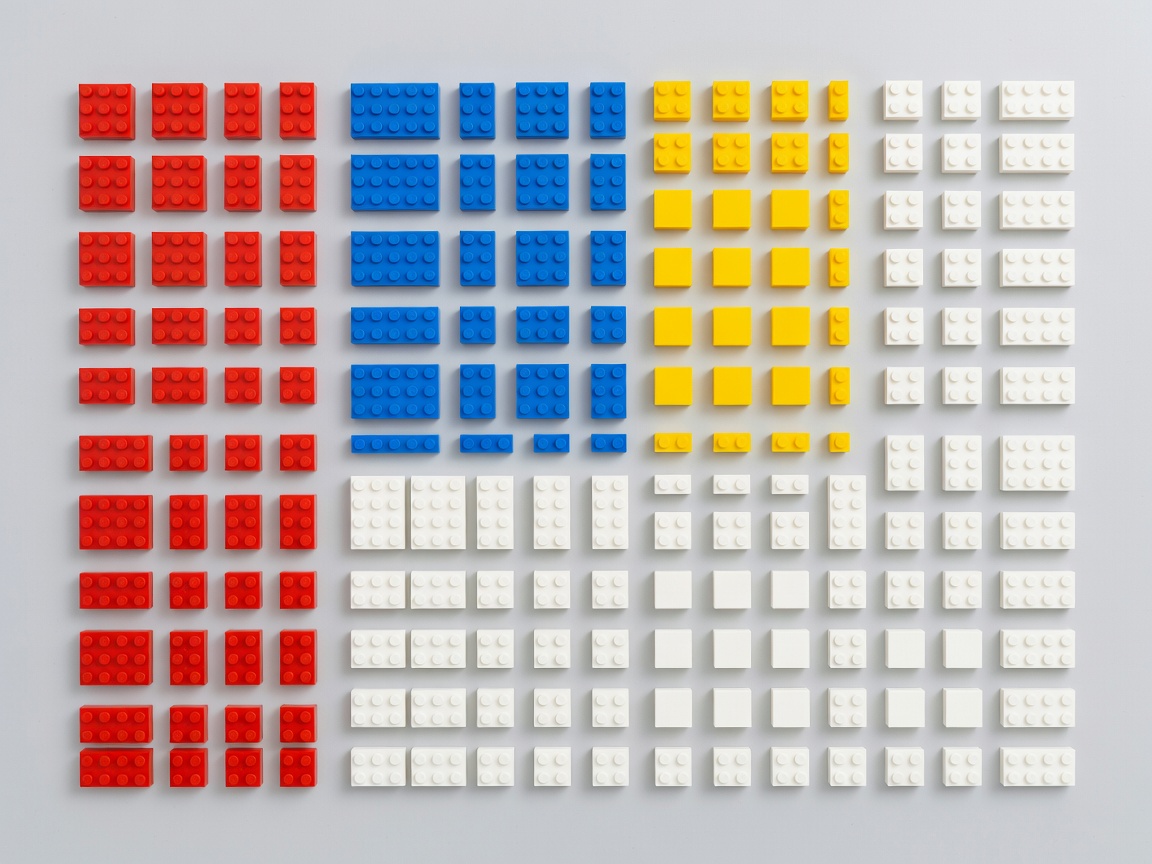
A LEGO element is an individual component with a particular shape, colour and connection pattern. Builders often use “brick” for everything, but the distinctions help you choose parts quickly. A brick has substantial height and exposed studs on top. A plate is thinner. A tile has a smooth upper face. Slopes create angled surfaces, while curved slopes soften them. Technic elements add holes, pins, axles and mechanical connections.
That language is useful because appearance and structure are different jobs. A tile finishes a surface but does not provide studs for the next layer. A long plate can tie several smaller bricks together. A slope can suggest a roof, bonnet or landscape, yet the pieces below it still carry the load. Ask what each element contributes before adding it.
Work with the connection grid
The familiar stud grid sets the horizontal rhythm of most building. Elements align cleanly when their connection points follow that grid. Vertical proportions also repeat consistently, allowing plates and bricks to meet at planned levels. You do not need to memorise dimensions to benefit. Stack candidate combinations beside one another and compare their height.
Connections should be firm without being forced. Standard studs and tubes provide the everyday clutch connection. Clips connect to suitable bars. Pins belong in compatible Technic holes, while axles pass through axle-shaped openings. A connection that bends a piece, spreads a clip or holds parts under constant strain is a poor choice. Find the intended compatible element instead.
Keep a test corner
Before committing to a large wall or angled section, build a small version of the joint. Press it, lift it and take it apart. You will expose weak seams while the change is still easy.
Build a versatile foundation
Start with ordinary bricks and plates in several useful lengths. Add tiles for clean finishes, slopes for shaping and a modest selection of hinges, clips, bars and Technic connectors. Small elements handle adjustment and detail. Longer elements bridge seams and establish straight lines. Both matter.
Colour affects more than style. A limited palette makes the main form easier to read and makes missing parts easier to spot. Hidden structure can use mixed colours when appearance does not matter, although highly contrasting internal layers may show through gaps. Neutral colours are flexible for structure and display, while brighter colours make accents and play builds easy to read.
| Element type | Main job | Trade-off |
|---|---|---|
| Brick | Fast volume and rigid walls | Can look blocky without shaping |
| Plate | Thin layers and seam reinforcement | Large stacks take time to separate |
| Tile | Smooth visible surface | Removes top connection points |
| Slope | Angled or curved shaping | Fixes the surface to a set profile |
| Technic element | Frames, pivots and mechanisms | Requires compatible connectors |
Check condition before building
Inspect used pieces under clear light. Look for cracks beside clips, whitening where plastic has been stressed, tooth marks, deep scratches and connections that no longer hold reliably. Dust affects appearance but can usually be removed with gentle cleaning. Warping, cracks and weak clutch affect function.
Separate damaged pieces from the working collection. A marked part may still suit hidden filler or rough prototyping, but do not depend on it in a load-bearing joint. Avoid harsh cleaning products, high heat and abrasive tools. Mild washing, thorough rinsing and air drying are safer general choices. Printed and decorated elements deserve extra care because surface treatment can wear.
Start broad, then refine
- Choose one clear subject or function. Define the rough footprint before searching for detail pieces.
- Block out the largest masses with ordinary bricks and plates. Ignore decoration.
- Check the silhouette from several sides. Adjust proportions while the model remains simple.
- Reinforce seams with overlapping layers. Lift the model carefully to find flexible areas.
- Add slopes, curves and small elements only after the main structure works.
- Finish visible surfaces with deliberate texture. Leave studs exposed where they add rhythm or retain play value.
This order keeps decisions manageable. You solve form first, strength second and finish last. If a section fails, return to the previous stage instead of covering the problem with more pieces.