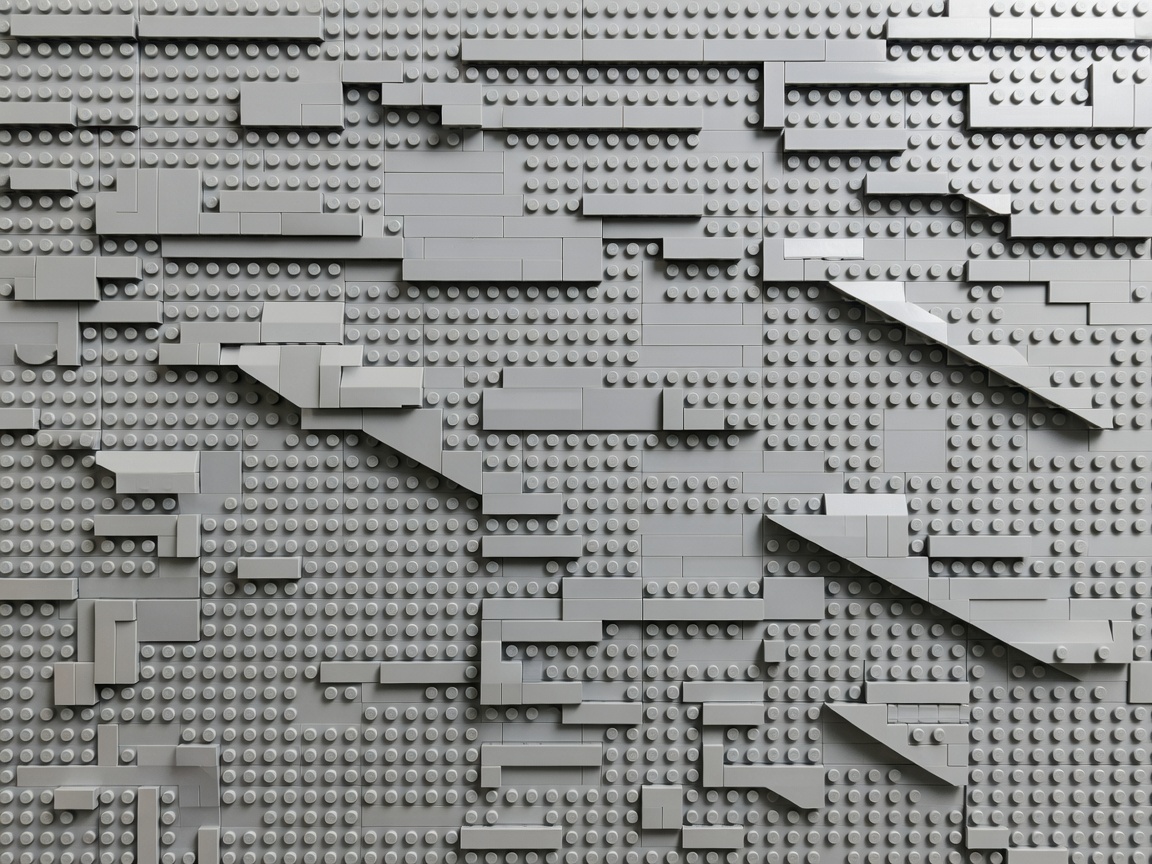
Strength starts with overlapping seams
A straight vertical stack can split along aligned joints. Shift the joints between layers so one element bridges the seam below. This basic overlap spreads force across the wall and reduces weak lines. Long plates work well as ties, but using only long elements can make later editing difficult. Combine broad reinforcement with smaller sections that remain replaceable.
Think about how the finished model will be handled. A display structure mainly resists its own weight. A vehicle may be lifted by the sides, pushed across a surface and turned over. A play model needs accessible repair points. Reinforce the places where hands naturally grip, then test those areas before surface details make the inside hard to reach.
Wide bases resist tipping, while low mass keeps the centre of gravity manageable. Tall narrow models need an internal core or a broader footprint. Decorative towers attached by a small connection can rotate or shear away. Extend their support down into the main structure instead of relying on a single upper layer.
Change stud direction with purpose
Sideways building uses elements that present studs on a side rather than only on top. It helps create smooth walls, narrow bands, lettering, recessed details and shapes that do not follow the usual upward stack. The technique is often known by the established abbreviation SNOT, meaning “studs not on top”.
Direction changes introduce alignment questions. Build a small gauge beside the model to compare the sideways section with the surrounding grid. Do not force a panel into a gap that is slightly too tight. Pressure may bow the assembly or weaken connected clips. Leave enough tolerance for parts to sit naturally.
Secure the direction change
A sideways panel is only as reliable as the brackets or modified bricks behind it. Spread attachment points across the panel instead of hanging a broad face from one connector.
Choose the right route to an angle
Hinges create adjustable angles. Wedge plates and slopes create fixed angles. Staggered plates create stepped approximations. Each route produces a different result. Hinges offer control but can drift if the surrounding structure does not lock their position. Wedges stay stable but limit you to their geometry. Stepped curves are easy to alter but remain visibly faceted.
For a rounded wall, build repeated short segments and turn each one slightly. Connect the segments with hinges where flexibility is needed, or use a stable polygon when the angle should remain fixed. Curved slopes give a smoother skin but still need a sound frame underneath. Do not let the visible shell become the only structural connection.
Organic forms benefit from controlled variation. Repeat a basic direction, then interrupt it with a different slope or offset. Too much random detail makes the outline noisy. Too much repetition makes natural subjects look mechanical. Judge the silhouette from a distance before adjusting tiny gaps.
Build mechanisms around clear constraints
A working mechanism needs space, alignment and support. Axles should remain aligned through compatible holes. Gears should meet cleanly without being pressed together so tightly that friction stops movement. Hinges need clearance around their full path. Test the mechanism by hand before enclosing it.
Keep decorative weight away from unsupported moving ends. A long arm places more leverage on its pivot than a compact one. If the pivot flexes, strengthen the frame around it rather than clamping the moving part. Stops can limit travel and prevent a mechanism from folding into surrounding pieces.
| Technique | Best use | Watch for |
|---|---|---|
| Overlapping layers | Walls, hulls and broad bases | Sections becoming hard to dismantle |
| Sideways building | Smooth faces and inset details | Alignment and internal pressure |
| Hinged sections | Adjustable angles and curves | Drift and weak single-point joins |
| Technic frame | Rigid cores and mechanisms | Connector access during assembly |
Finish the surface without erasing character
Studs are not automatically unfinished. Exposed studs can suggest texture, break up a large area and preserve obvious connection points for play. Tiles create calm surfaces and crisp graphic areas. Grilles, clips and small plates add controlled texture. Choose one dominant treatment for each area.
Colour blocking strengthens form. Use a main colour for the mass, a secondary colour for large divisions and accents for focal details. Scattering accent colours evenly across a model reduces their impact. Group them where you want attention.
- Build the structural core and test it under normal handling.
- Add direction changes and lock their alignment.
- Shape the silhouette with slopes, wedges or hinged sections.
- Install and test any moving feature through its full path.
- Apply surface finish last, keeping access to likely repair points.
Stop when added detail no longer improves the main idea. A technically dense model is not automatically a clearer one. Structure should support the subject, not compete with it.